Getting Started for Twilio Messaging Bots (SMS, IP)
Botmetrics: Analytics for Twilio
botmetrics makes it simple to measure, grow and engage users on your website or within your mobile
We’ll show you how to get started collecting metrics in 3 easy steps:
Step 1: Sign up for Botmetrics
Sign up for Botmetrics for free and select the Globe Icon for custom integration.

Follow the steps add your preferred language SDK to your Bot Code.
Step 2: Create your Twilio SMS Bot
The folks at Twilio have done a great job on how to get started building a bot that responds to SMS and IP-based messaging. You can follow their excellent tutorial here
Step 3: Send Data to Botmetrics
Next, let's create a message payload that takes the information from the Twilio Webhook and tracks it in Botmetrics.
See TwiML reference for the request object in Twilio's webhook
var http = require('http');
var express = require('express');
var client = require('twilio')(accountSid, authToken);

// Remember to run `npm install --save botmetrics` in your app.
var Botmetrics = require('botmetrics');


var app = express();

app.post('/sms', function(req, res) {

  now = new Date();

   // Create Botmetrics Payload
   var message_payload =
  {
    "id": req.MessageSid
    "timestamp": now.toJSON(),
    "text": req.Body,
    "event_type": "message",
    "is_for_bot": true,
    "is_from_bot": false,
    "user_id": req.From,
    "bot_id": req.To,
    //optional user parameters
    "user_attributes": {
      "first_name": "First Name of the User",
      "last_name": "Last Name of the User",
      "full_name": "Full Name of the User",
      "email": "Email of the user",
      "timezone": -7,
      "gender": "Gender of user"
    }
  }
  // Send the payload to Botmetrics using the API_KEY and BOT_ID from above.
  Botmetrics.track(message_payload, {
    apiKey: process.env.BOTMETRICS_API_KEY,
    botId: process.env.BOTMETRICS_BOT_ID
  });

	res.writeHead(200, {'Content-Type': 'text/xml'});

});

//To Track Outgoing messages
msg= {
    to: "+15558675309",
    from: "+15017250604",
    body: "Hello from the Botmetrics bot",
}
client.messages.create(msg, function(err, message) {
		 var message_payload =
  {
    "id": message.sid
    "timestamp": message.date_created,
    "text": message.body,
    "event_type": "message",
    "is_for_bot": false,
    "is_from_bot": true,
    "user_id": message.to,
    "bot_id": message.from,
  }


  	Botmetrics.track(message_payload, {
    apiKey: process.env.BOTMETRICS_API_KEY,
    botId: process.env.BOTMETRICS_BOT_ID
  });
});

http.createServer(app).listen(1337, function () {
  console.log("Express server listening on port 1337");
});
Required and Optional Fields
Note:
- All fields in the message_payload are required except the user_attributes hash which is optional
- is_to_bot can be true or false
- is_from_bot can be true or false
- timezone is integer and is a valid timezone offset from GMT
Step 4: Test your First Messages
Deploy your code and head over to the Botmetrics to track custom events, see transcripts from your users and to re-engage them.
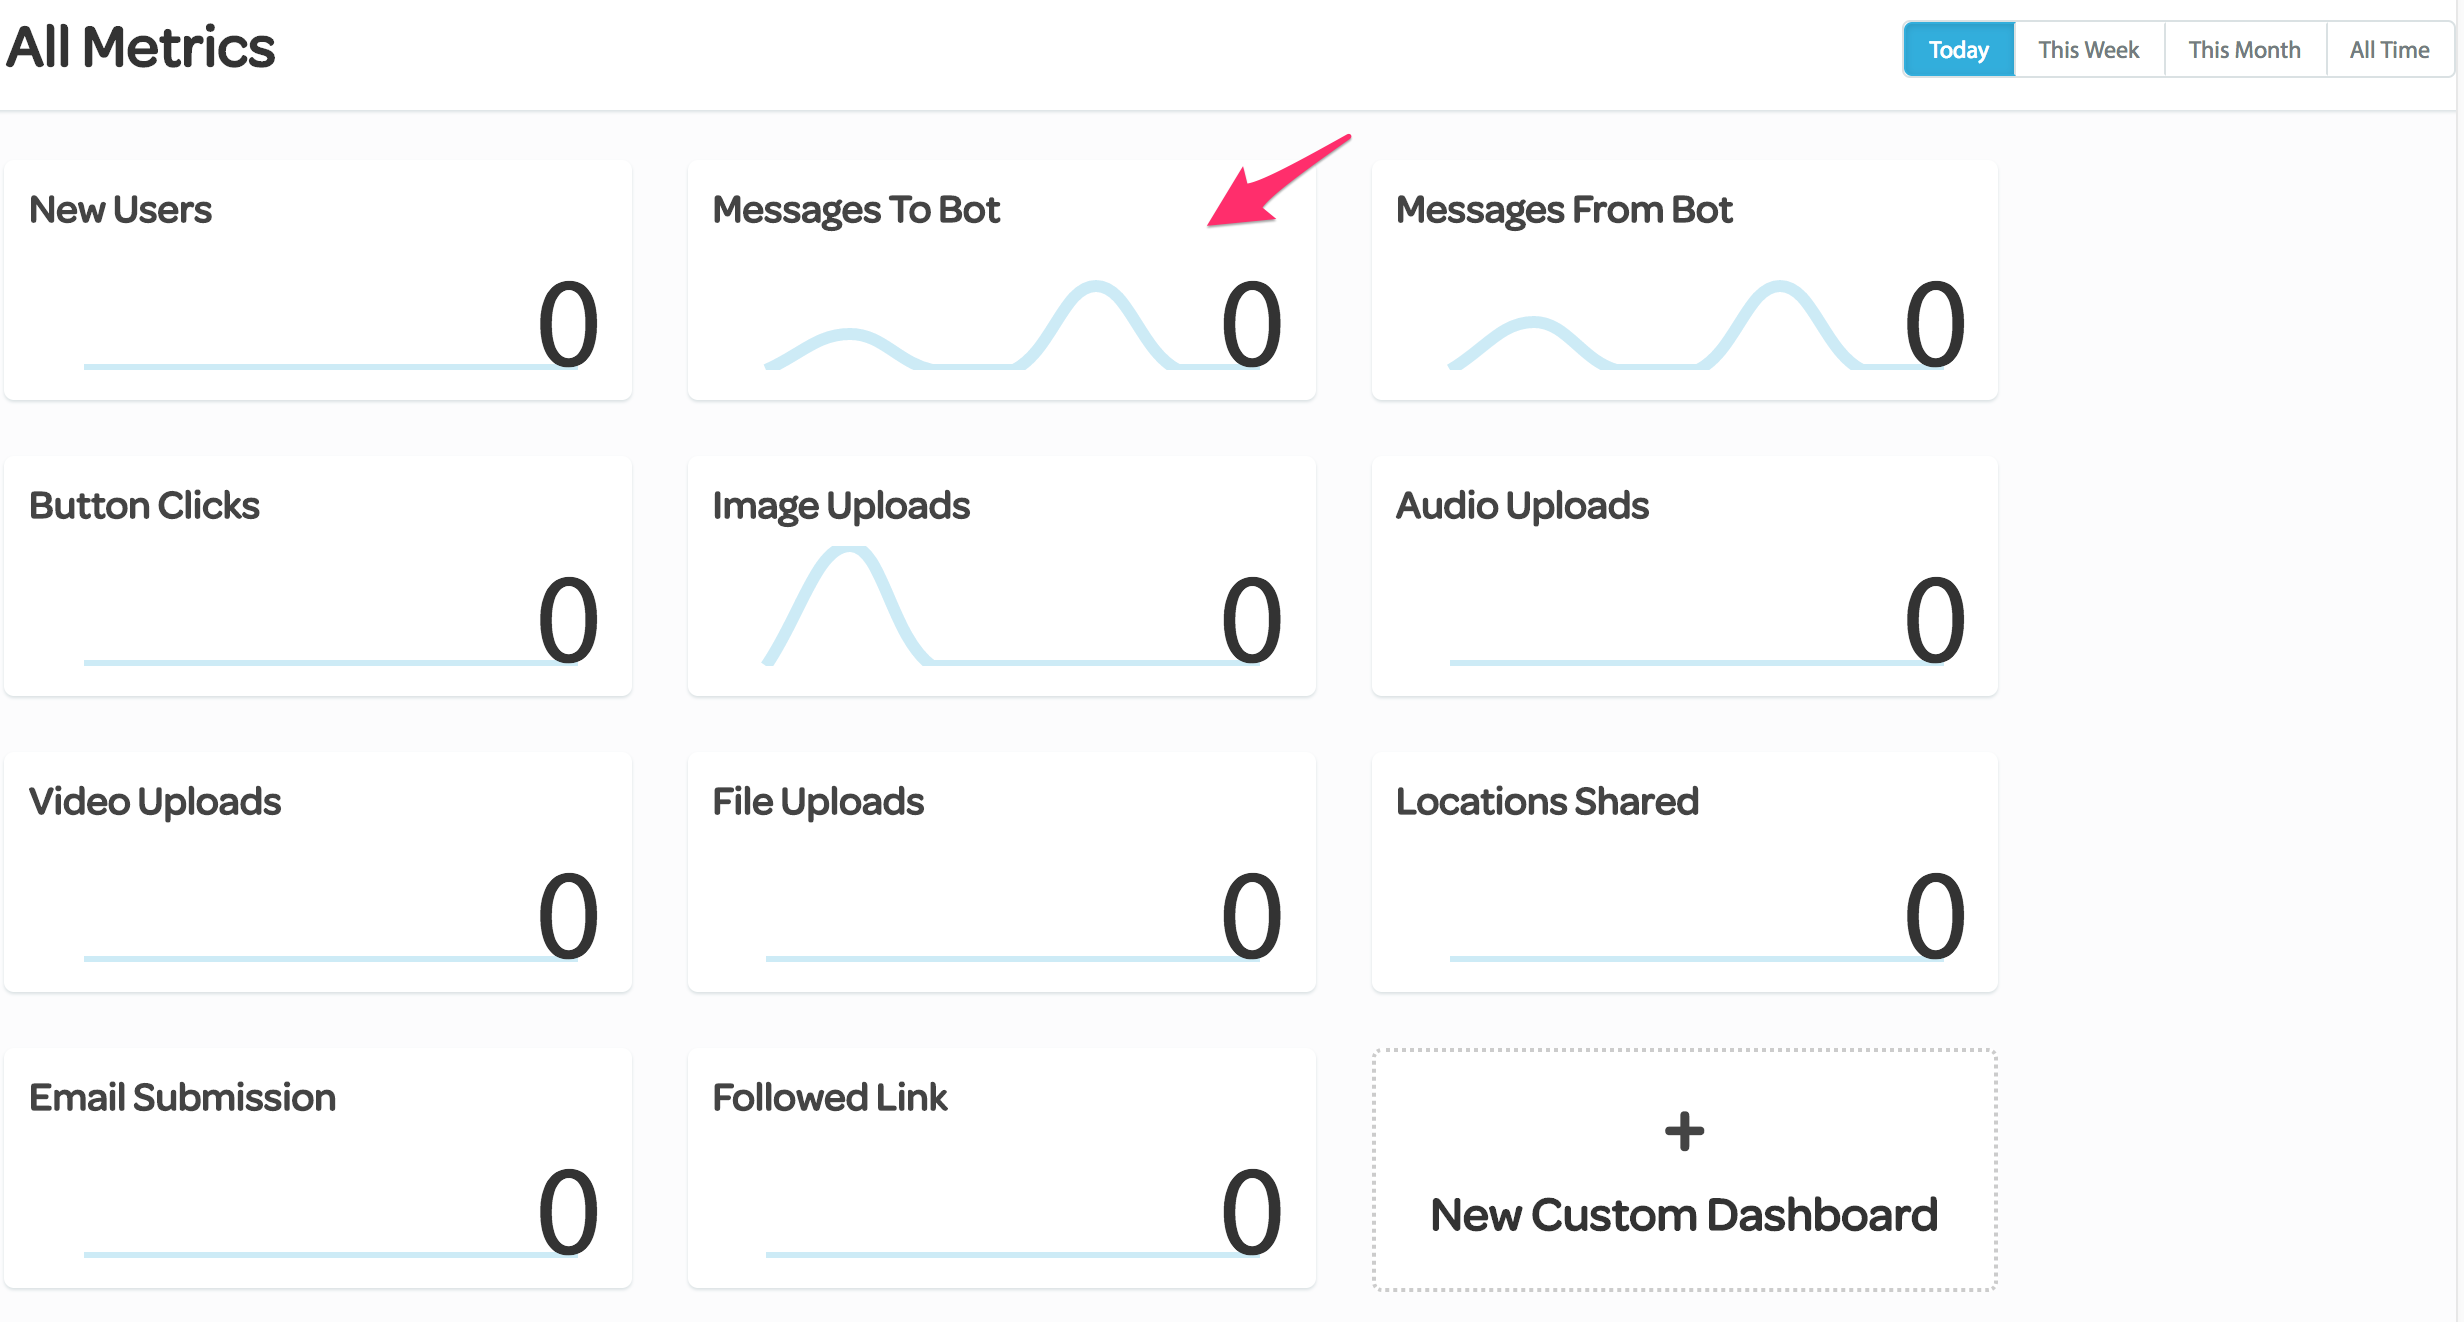
From the Botmetrics Dashboard click in to see the Messages To Bot

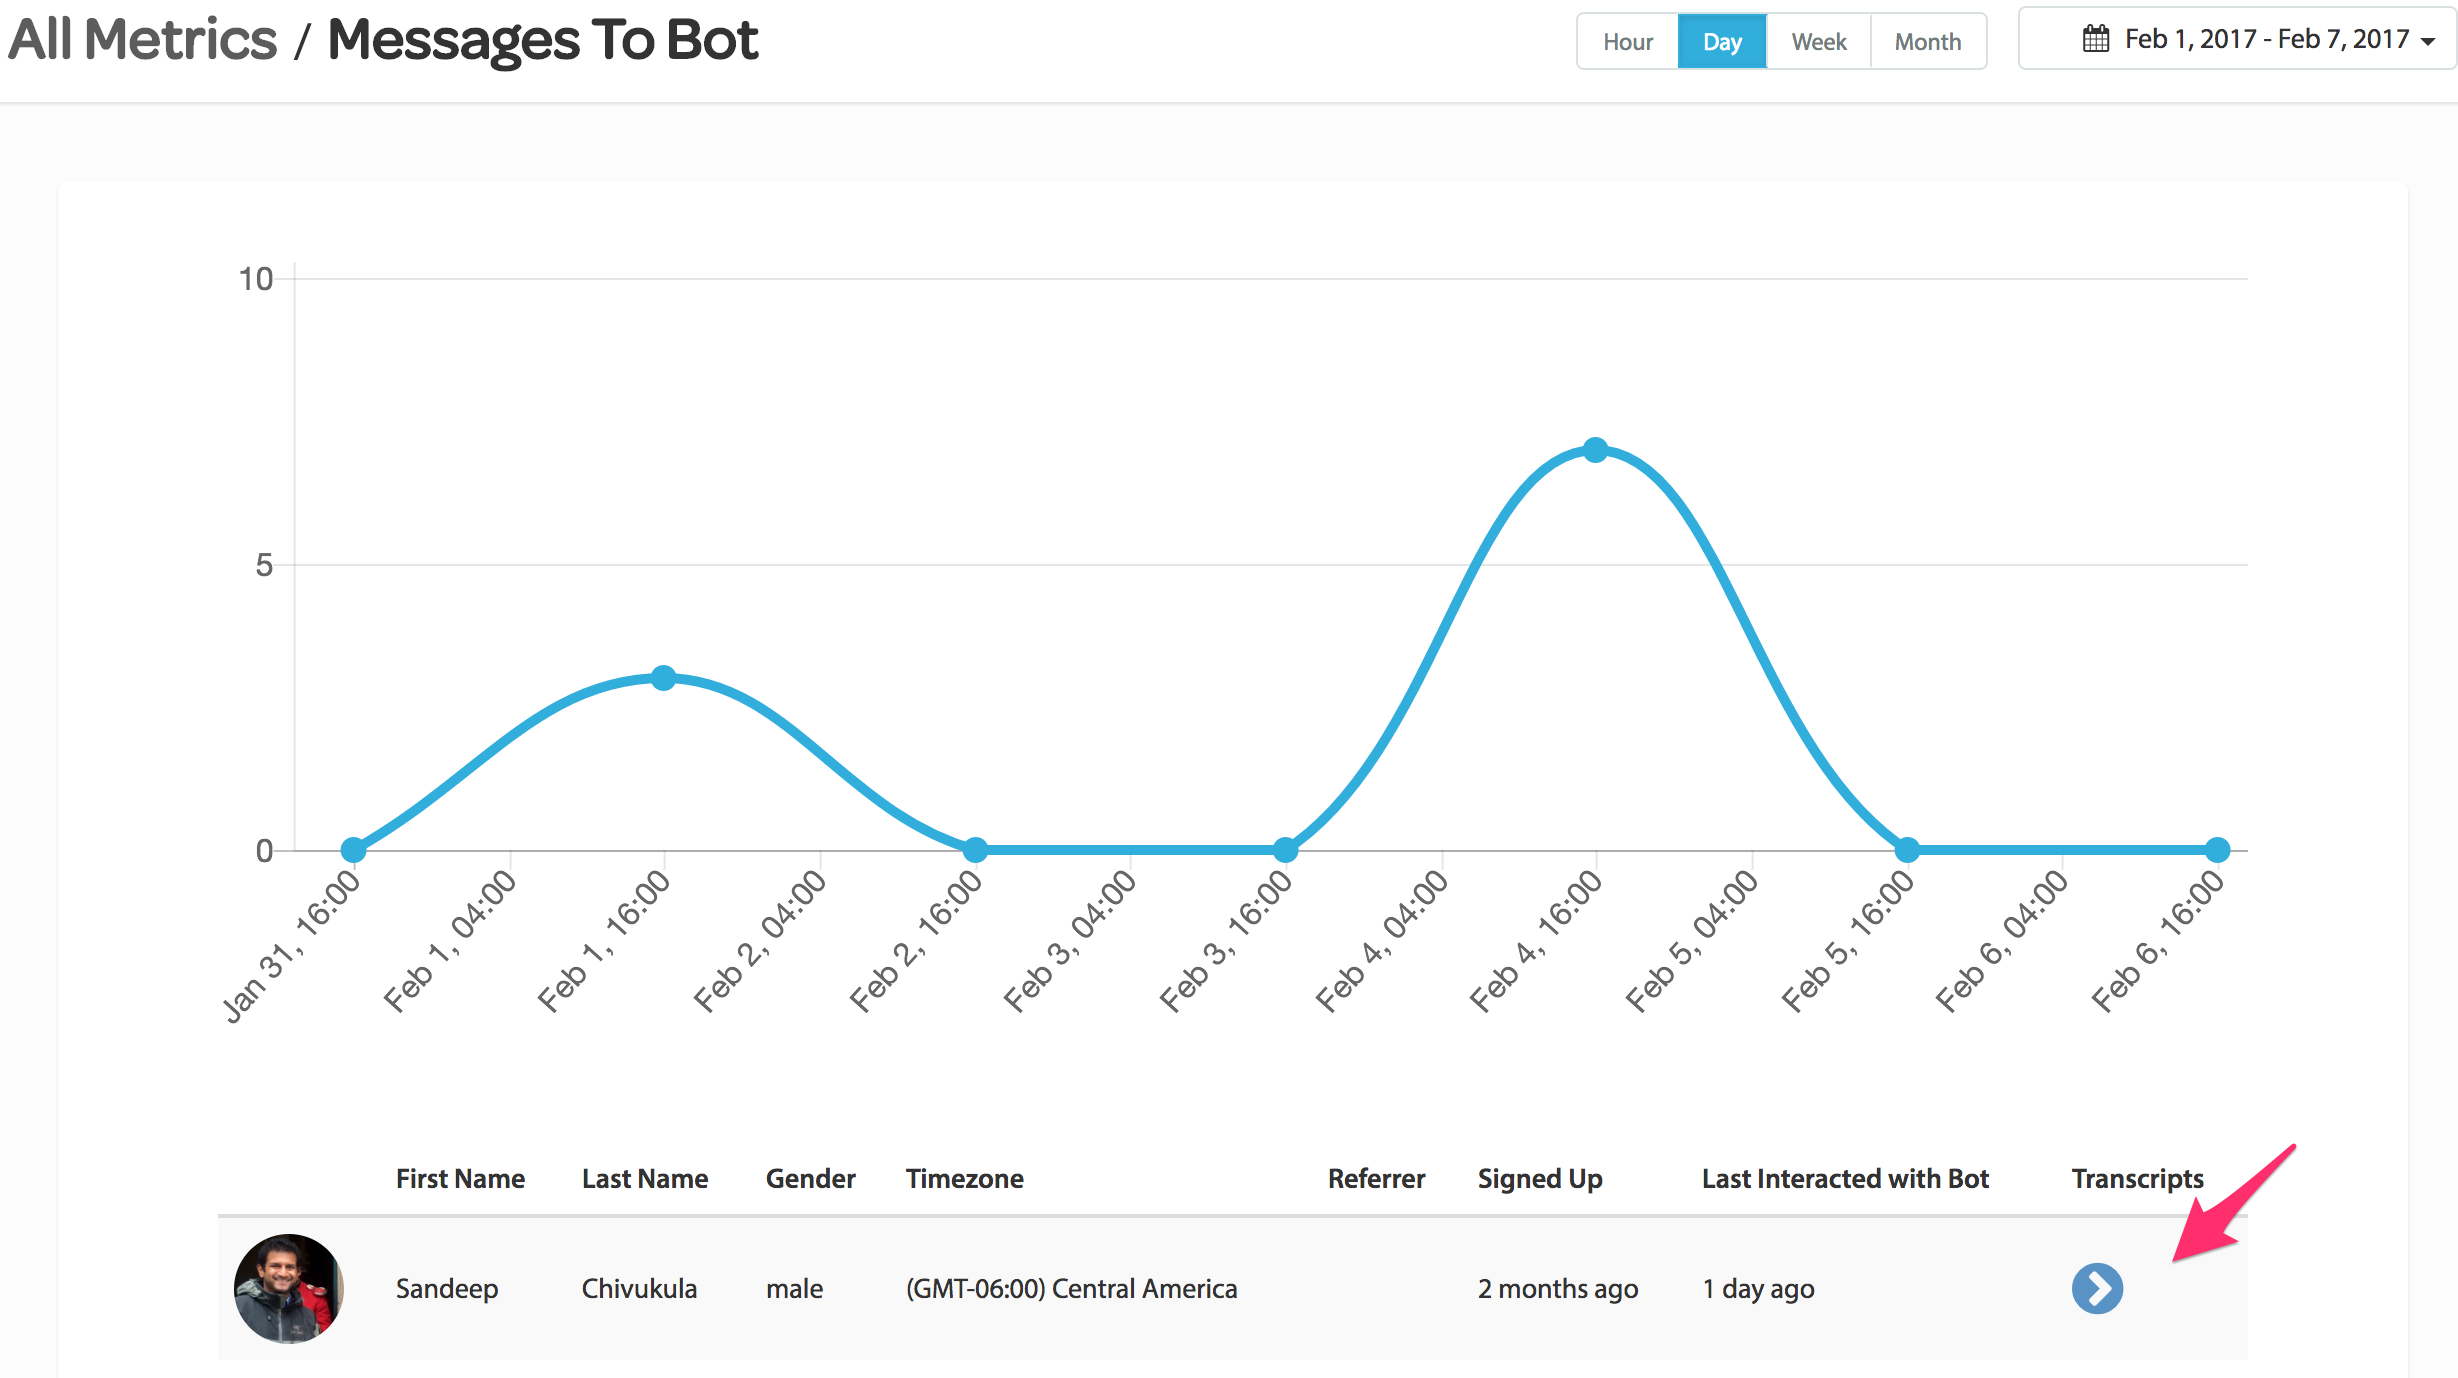
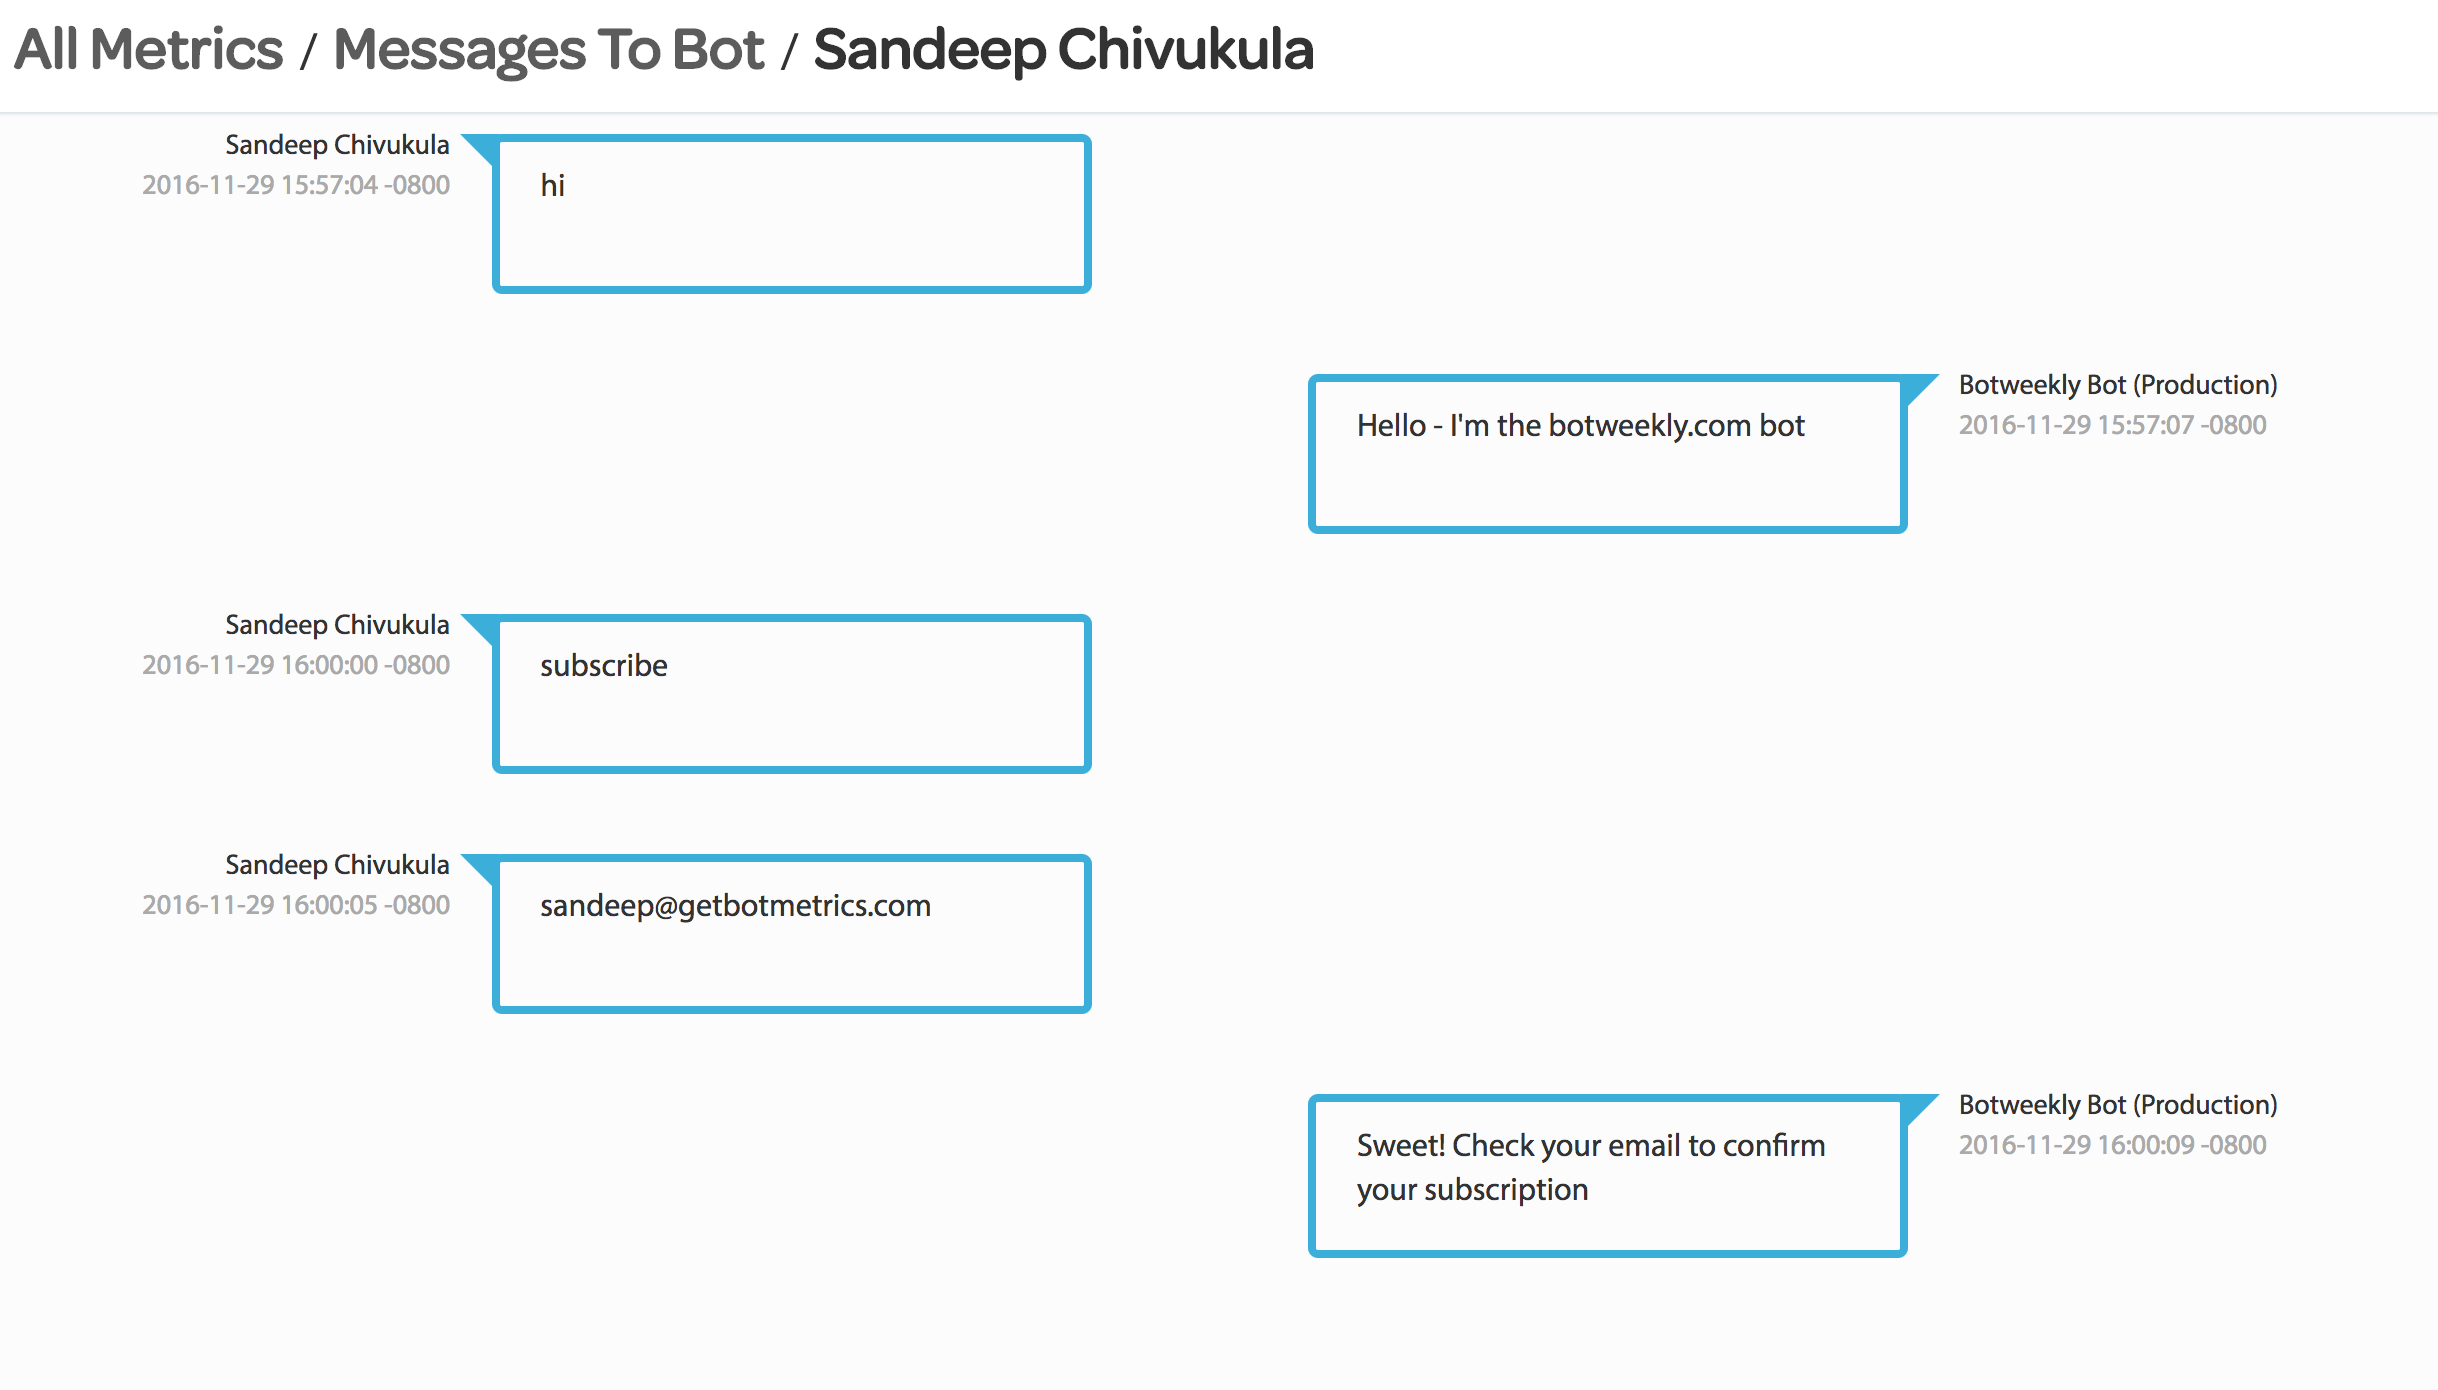
From here you can see the individual users and click in to see individual conversation Transcripts.

Viola!

Updated almost 9 years ago
